Week 12: Moulding & Casting
The assignment:
1. Group assignemt: LINK
2. Individual assignment: Design a mold around the process you'll be using, produce it with a smooth surface finish and use it to cast parts.
What is moulding and casting about?

This is how I did it:
First I designed the mold in Fusion.
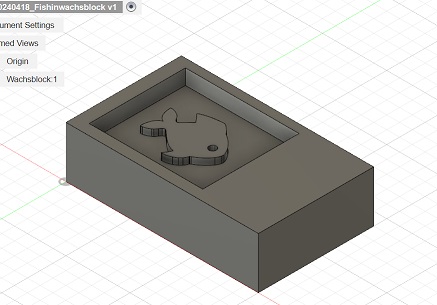
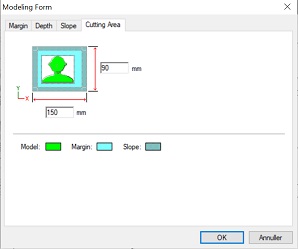
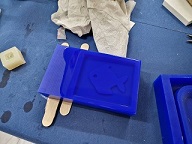
Component 1 was in the size of the wachsblock that I was going to use (150x90x40). Component 2 was the area where I was going to pour silicone into (I made that 88,5x75x10). I gave the walls a degree of 10% so the Silicone would be easier to get out. Component 3 was the actual model. I chose the fish that I had designed in week 11. Here is the design file as *svg
Here is the design file from Fusion360: Fish *.f3d
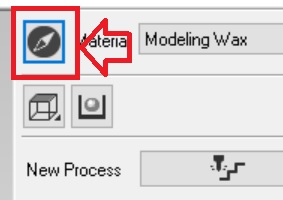
I exported the whole thing as *stl. Now I could the prepare the file for milling in the Roland SMR-20. The software we were recommended to use for this is Modella Player 4.
Setting things up in Modella Player 4:Here is the design file from Modella Player 4
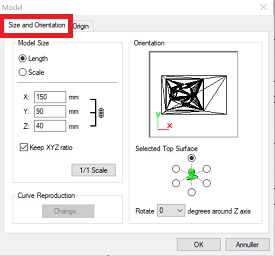
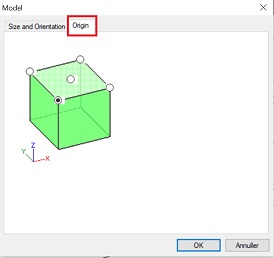
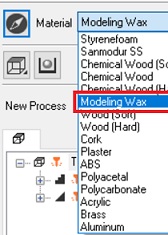
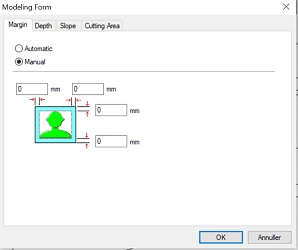
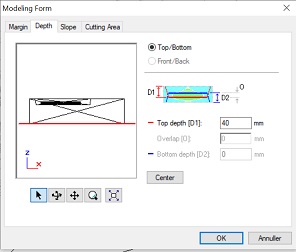
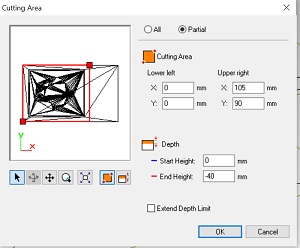
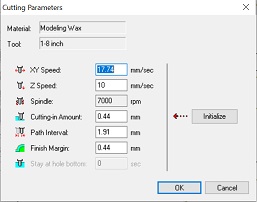
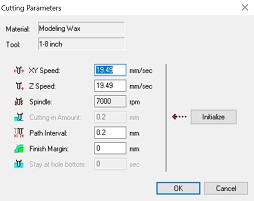
First I made the settings for material, size of the block etc.:
 |
 |
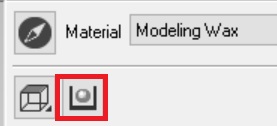
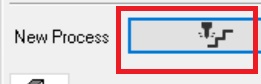
Setting up the process and the tools:
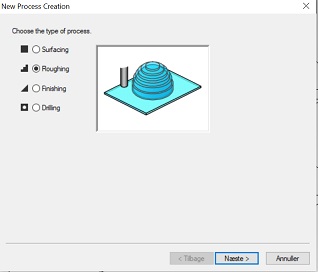
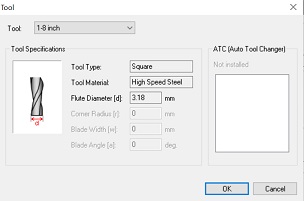
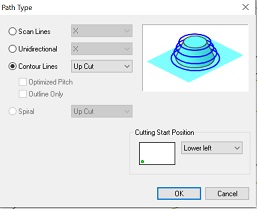
Repeat this for the “finishing”. I used the same tool, because of the simple design. You might want to change to another end mill like “ball” if needed. Most of the settings are the same unless:
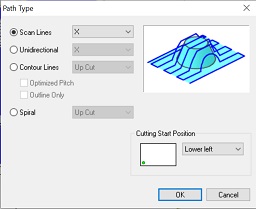
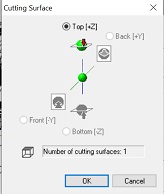
To finish everything you can preview the cutting and finally create the file for cutting on the Roland SMR-20
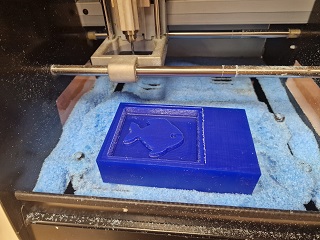
Cutting on the Roland SMR-20:
The Software for this is V-panel. (the same as for milling the PCBs). Note that there has to be inserted another bed. Besides that the process is the same as for the PCBs (see weekX)
Here are the files for roughing and finishing: 1. Roughing, 2. Finishing
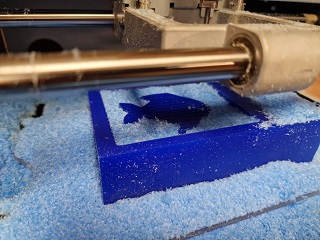
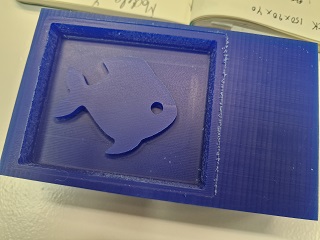
First the result of the roughing:
 |
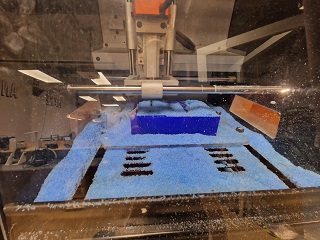 |
Then the result of the finishing:
 |
 |
Preparing the silicone:
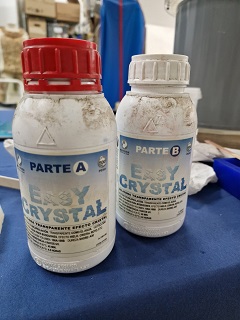
To find out how much silicone I would need I poured water in the mould an measured the volume in a cup. I used the “Easy Crystal” and mixed part A + part B well in a 1:1 ratio. Here you can find the datasheet and a desciption of the product: EasyCrystal
Inthe datasheet you can read that the silicone is water-clear encapsulation silicone, ideal for a variety of encapsulation and display applications.
Nevertheless I decided to you use for my purpose, - a kind of experiment you might say - to get a hands-on feel of how the silicone behaves when you work with it.
I put my mold into the vacuum container and poured the Silicone into it there, sp I didn’t have to move the mould with Silicone in it with chance of spilling.
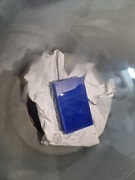
I turned on the compressor and the process starting removing airbubbles from the Silicone.
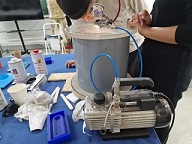
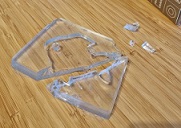
When it was done I placed the mold on the table and waited for it to harden. Hardening time: 4 – 5 hours
5 hours later: The first broke. Easy Crystal seems to be very fragile. Next day the second try went much better.
 |
 |
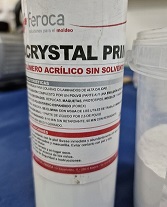
Now I could make the mix for casting. I decided to go with Acrystal Prima + Basic Crystal. See datasheet and a description of the product here
 |
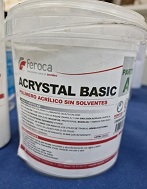 |
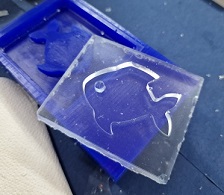
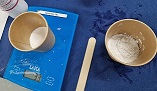
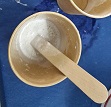
It is a non-toxic and odorless resin that comes as a powder and a liquid. In the datasheet you can read that it can be used in scenery, replicas, models, prototypes and models and also for coating expanded polystyrene (polystyrene foam or polyrex) Acrystal works well for casting. It is mixed in ratio: 1:2,5. I poured the liquid in one cup and the powder in another. I slowly added the powder to the liquid while mixing so it did not lump.
 |
 |
Then I poured the cast into the mould and waited. After 5 hours I could take my model out of the mould:
 |
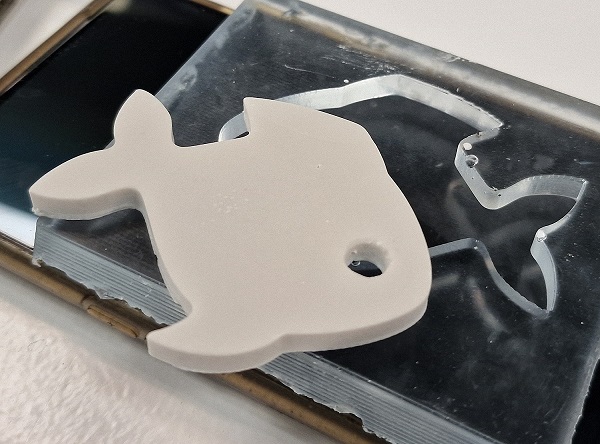 |